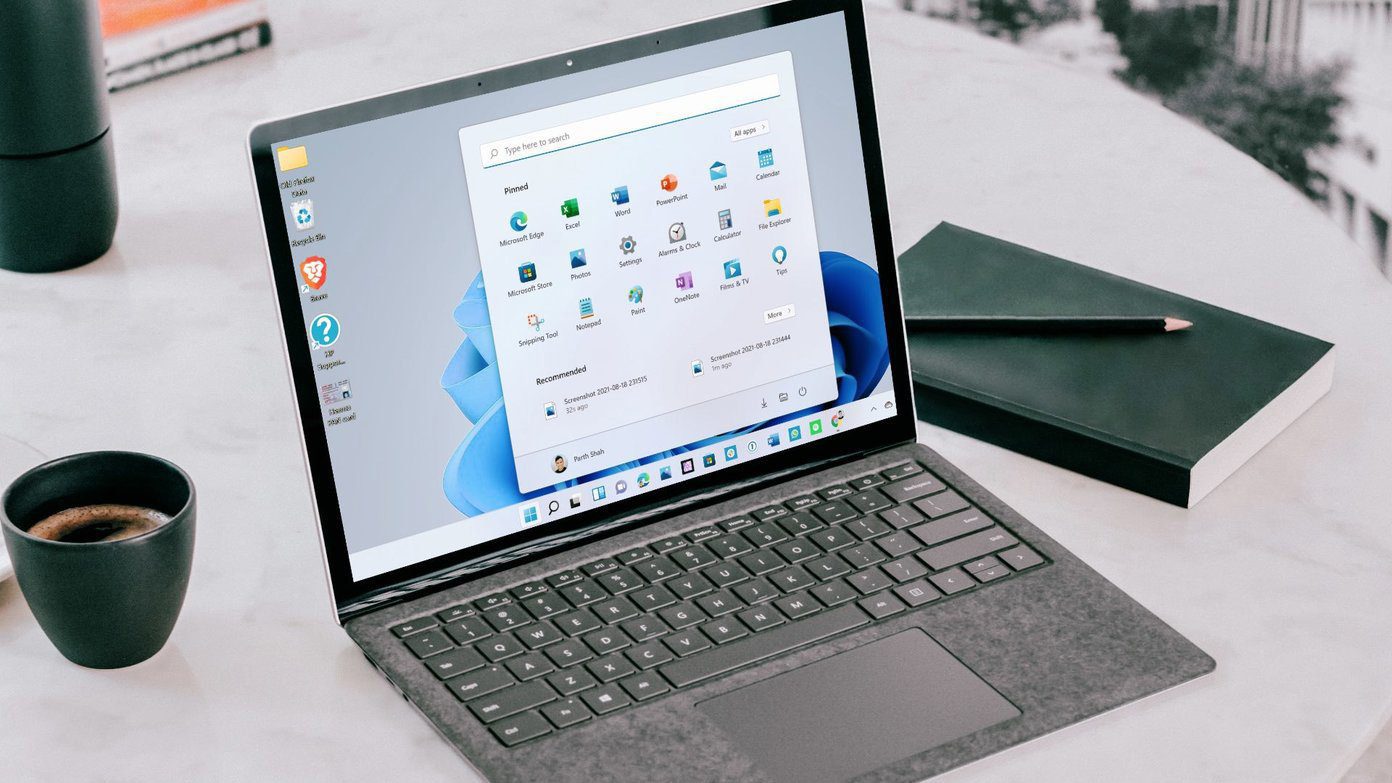
I feel design, or maybe the ‘design’ perspective changes from person to person. And that’s what brings me to the all-new Windows 10 Start Menu. Addressing user concerns from the previous versions of Windows, Microsoft has made the Windows 10 Start Menu a lot more customizable. Apart from the defacto Start Menu that Windows 10 comes with, you can transform it easily to get a Windows 7 type Start Menu or a fullscreen Windows 8 Start Screen, whatever fits you right. So in this article I will show you how to fully customize your start menu and design it the way you want it to be.
The Windows 7 Look-alike Start Menu
The new Start Menu combines the small icons of Windows 7 and Live Tiles from Windows 8. In the early builds of the latest variant, a user could simply unpin all the tiles and resize the start menu to make it look like the traditional Start Menu most of us loved. However, in the latest technical preview, the option has been removed as a default feature, so you have to edit a registry file to mend things. Open the Run command, type in regedit and press OK. Navigate to HKEY_CURRENT_USER –> Software Microsoft –> Windows –> CurrentVersion –> Explorer –> Advanced. Here, create a new DWORD (32-bit) value and name it EnableXamlStartMenu. Once all that’s done, open the task manager in the Advanced view and restart the explorer. The Start Menu will now be re-sizable again and once you remove all the tiles from the right pane, the menu will shrink and not use unnecessary real estate on your screen. If you wish to bring back the default settings, just delete the new value we created in the registry. Making Things Easy: Download and execute the one-click registry file to create the necessary DORD Value directly. If you would like to pin items like Control Panel, Documents, and Computer to a pane in the right, open the Start Menu properties and click on Customize to edit the Jump List. In the dialog box that opens up, you can select any of the special items and add it to the Start Menu and make it more like Windows 7.
Get the Windows 8 type Start Screen
While for Windows 7 fans things might seem a bit complicated, Microsoft has shown a softer side for Start Screen lovers. Make sure you save all your work, as you will be logged off at the end. Right-click on the Taskbar and open Properties. Here, navigate to the Start Menu and uncheck Use the Start menu instead of the Start screen. Windows will ask you for confirmation to log off and log back in for the changes to take effect. Once you are in again, you will get the Windows 8 Start Screen in Windows 10.
Removing Bing Search Results
People like me who know what they are doing might hate the constant Bing Search results that appear every time you search for a program on the Windows 10 start menu. Most of the time, these search predictions make no sense at all and make the search slow. If I wanted to search the web, I would have used Chrome. If I am in the Start Menu, I am there to search for a program and nothing else. If you think likewise and would like to stop these Bing predictions from showing up, there’s an easy fix for that. Open up the Control Panel and click on Group Policy Editor. Now navigate to Computer Configuration -> Administrative Templates -> Windows Components -> Search. Here, enable these three policies:
Do not allow web searchDon’t search the web or display web results in SearchDon’t search the web or display web results in Search over…
Make sure you enable, not disable the settings. After, the Start Menu search results will be clean and will not comprise of unnecessary search predictions.
Changing the Look and Feel
So once you set up the Start Menu to work as you would like, let’s personalize the looks a bit. After all, colors work magic when used in correct contrast. By default, the menu is set to change color dynamically along with the Wallpaper and theme you are using on Windows 10. Right click on any empty space on the Start Menu and click on the Personalize option. Here, you can choose static colors for the Start Menu along with the taskbar. So that was how you can custom design the Start Menu in the upcoming version of Windows. Don’t forget to share your views about Windows 10 if you had a chance to play with the pre-released version. The above article may contain affiliate links which help support Guiding Tech. However, it does not affect our editorial integrity. The content remains unbiased and authentic.


![]()


