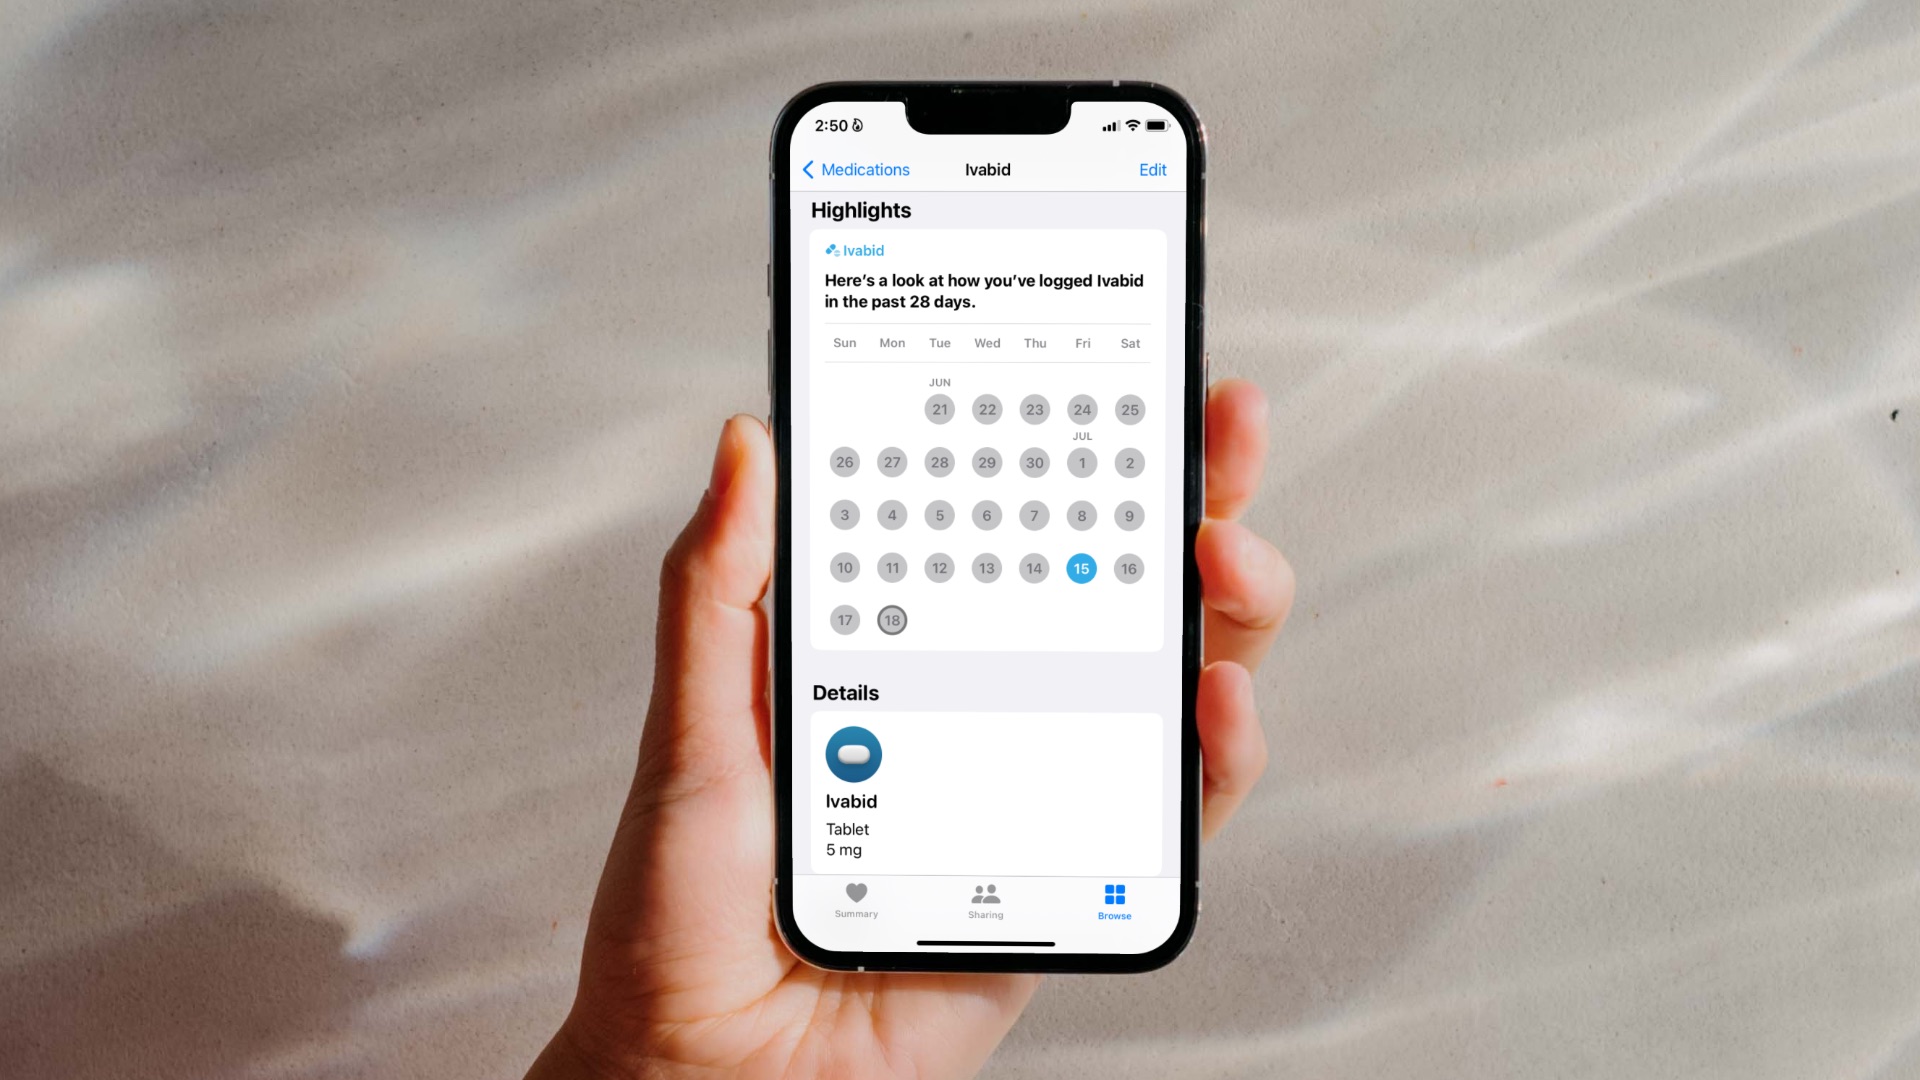
Over the years, Apple opened up the Health app’s APIs to allow third-party apps for accessing and writing health-related data. By default, Apple Health tracks steps and walking distance throughout the day. You will be surprised to know that the app is capable of tracking everything from Vitamins to Water intake, sleep to mindful minutes, and much more. At the same time, it also allows you to create and store health profiles and export the data in a separate file on a device. In this post, we are going to talk about the top nine Apple Health tips and tricks to use it like a pro. The list will include the functions mentioned above as well as a few more. Let’s jump in.
1. Add Activities to the Feed
Apple Health takes you to the summary tab on the home screen. It consists of floors climbed and steps only. However, you can add more tabs from the edit menu. Tap on the edit button at the upper right corner, and it will let you add height, weight, water intake, sleep tab, and more. Go to All tab, and there you will see the long list of activities that Apple Health supports. The items are neatly organized into relevant categories. Tap on the favorite icon and add them to the home screen. Alternatively, you can go to Browse > categories and add the activities as a favorite on the main page.
2. Create a Medical ID
This one is useful in emergencies. I highly recommend you to set it up. On the homepage, tap on the Medical ID, and you can add all the relevant health-related information and medical history in one place. You can list out your past medical conditions, notes, allergies, reactions, medications, blood type, weight, height, and even set the preferred emergency contact. In critical situations, people can check over your medial ID and help you appropriately.
3. Connect Third-Party Apps to Apple Health
Apple offers all the fitness tracking capabilities in the Health app. Now, that doesn’t mean the app itself does all the heavy lifting. Apple Health relies on third-party apps to fill in the gaps here. Apple is generous enough to suggest the relevant apps according to the activity. For example, you will find Adidas, iHealth, etc. on the homepage. You can see the apps such as MyFitnessPal, Lose It in the nutrition section. Now, when you install these apps on the phone, switch-on the permission to let them read and write data to the Apple Health app. Alternatively, you can modify the permission from Apple Health as well. In any section, scroll down to Data Resources & Access menu to see detailed information regarding which apps are reading and writing data for that activity.
4. Connect Fitness Tracking Apps to Apple Health
Not everyone can afford a high-priced Apple Watch. Most people opt for a relatively affordable fitness band or smartwatch. As expected, these devices can’t talk to the Apple Health app. It syncs only with Apple Watch. In such cases, you need to connect apps from fitness bands to the Apple Health platform. One can write data from apps such as Fitbit and Mi Fit to Apple Health by enabling the required permission. Now, your wearable talks to its app on iPhone, which forwards the data to Apple Health app.
5. Track Sleep
Apple is expected to add sleep tracking in the upcoming Apple Watch update. You can perform the same action on the iPhone itself. One way is Bedtime function that tracks your sleeping hours according to set time and phone movements in the morning. You can also manually add sleeping data in the Apple Health app. Apple suggests apps such as Beddit and Sleep+ to track sleep and write the data back to the app using the second trick above. For more information, check our detailed guide on how to track sleep on iOS.
6. Track Mindful Minutes
In today’s hectic schedule, it’s often advisable to take some time off from work. iOS ecosystem is filled with such apps for relaxation and meditation. Apple recognizes it as a fitness activity, and it has added a mindfulness section in the Apple Health app. You can choose from apps such as Calm and Headspace to track the peacetime.
7. Use Siri Shortcuts
By default, Apple offers various Siri Shortcuts to track activities. With Siri Shortcuts, you can log water intake, add sleeping hours, count mindful minutes, and more. Here is how to set it up. Go to Shortcuts > Gallery > Shortcuts from Apps > Health and you will see a bunch of ready-to-go shortcuts. Tap on it and add a related voice phrase to activate Siri. I use it to track my water intake throughout the day. From Siri Shortcuts widget, I tap on the log water option and add the current figure in an ounce.
8. Export Health Data
Apple Health is only available on iOS. The company is working to bring the app on macOS too. You can export the health data to other platforms too. Open Apple Health, tap on the profile icon at the upper right corner, and export the health data to any platform. It will be saved in an XML file so make sure to have compatible software to open the file.
9. Delete Health Data
For complete transparency, Apple allows users to delete the complete health data from a device. To act, open Apple Health > Profile > Devices > Choose the current device and delete the data. From the same menu, you can glance over the time and date of a logged activity.
Stay Fit and Healthy
The Apple Health app is more than just a basic step-tracking app. You can use it for tracking your health and activities with or without the Apple Watch. Of course, the Apple Watch will only add more facilities to it. Meanwhile, you can try the tips and tricks suggested above to get started. And if you have a trick or two under your sleeve, share it with us in the comments section below. Next up: Google Fit is also a capable app on iOS. Read the post below to find a detailed comparison between Apple Health and Google Fit. The above article may contain affiliate links which help support Guiding Tech. However, it does not affect our editorial integrity. The content remains unbiased and authentic.


![]()


