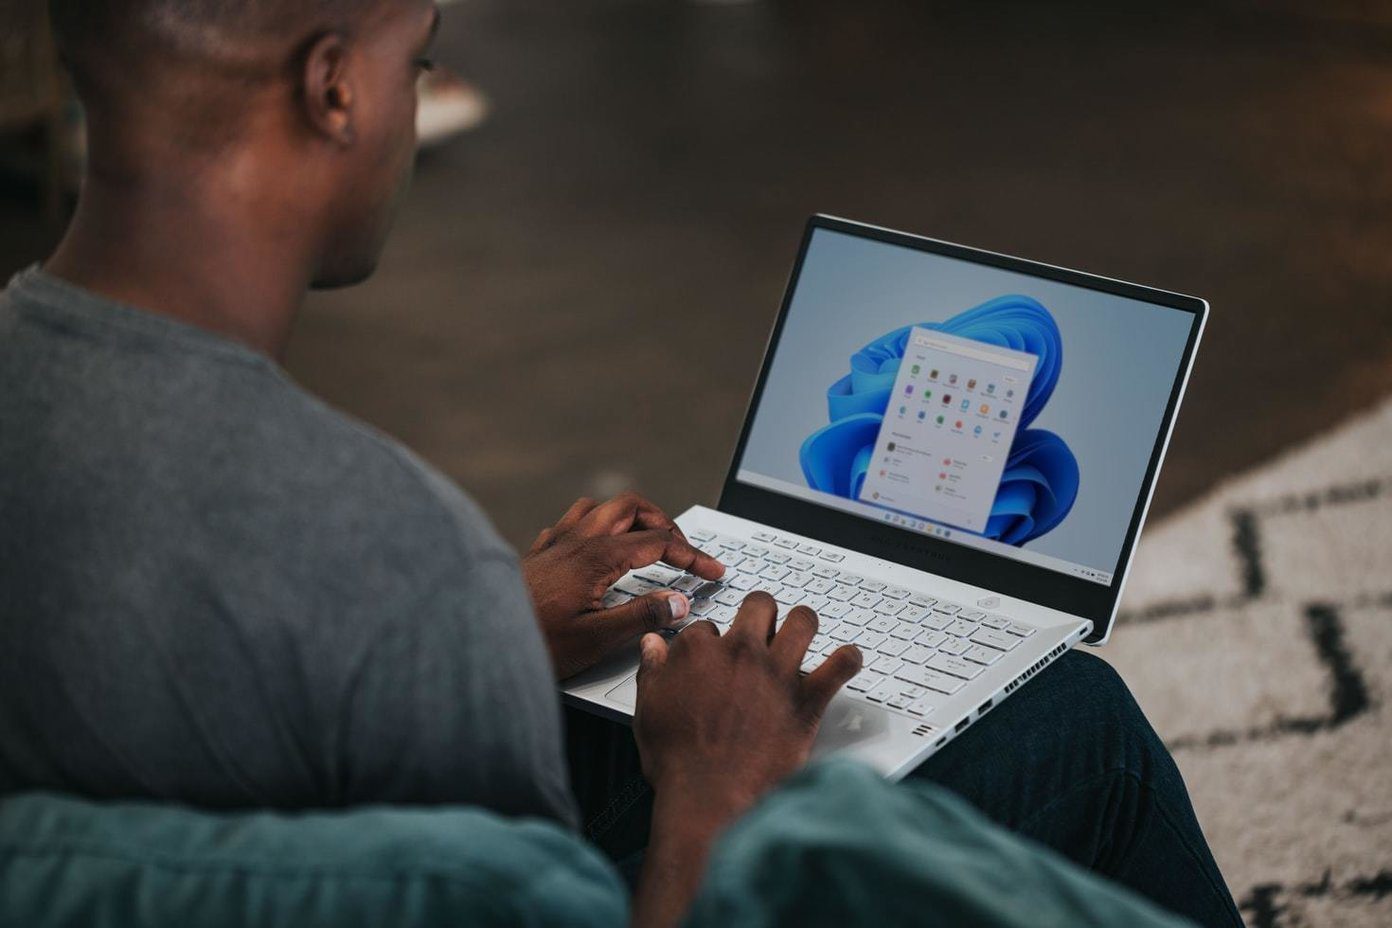
Microsoft has added a bunch of personalization options. The default settings are fine, but you might want to change the look, feel, and function of the Start menu in Windows 11. We will show you the default behavior in Windows 11 Start menu and how to change it in the OS.
1. Disable Translucent Effect
The default Windows 11 elements such as the Widgets panel, new notification area, quick toggles, and the Start menu carry a translucent effect. It’s a part of Microsoft’s Fluent design system that the company carries in other first-party apps. While it looks cool with the default Windows 11 wallpaper, it might not go well with some third-party wallpapers. You can open the Settings menu and go to Personalisation > Colors menu. Then, disable Transparency effects from the following menu. No reboot is required here. You will see immediately see the applied effect in the Start menu.
2. Change Start Menu Theme
You can change the Start menu theme individually. However, the suggested method will change the entire look across the OS. The default Start menu is set at the white theme with a blue accent color. Follow the steps below to change that. Step 1: Open the Settings menu on Windows 11 (Windows + I keys). Step 2: Go to Personalisation > Colors menu. Step 3: Choose the default theme mode from Light, Dark, or Custom. Step 4: From the same menu, you can select the accent color that shows up in the Windows 11 Start menu and throughout the OS.
3. Change Start Menu Position
As we mentioned above, Microsoft is centering the Start menu position in Windows 11. However, if you keep going back to the bottom left corner, you can change the position due to old habits. Step 1: Open the Windows Settings app and go to the Personalisation menu. Step 2: Select Taskbar > Taskbar behaviors. Step 3: From the Taskbar alignment menu, select left. Windows 11 will slide the taskbar with the Start menu and app icons on the left side.
4. Pin/Unpin Apps in the Start Menu
Quick live tiles are gone, and pinned apps in the Start menu replace them. As expected, Microsoft has crowded the Start menu with own apps and service. You can right-click on any app and remove it from the Start menu. Likewise, users can right-click on any app from the apps menu and pin it on the Start menu. Similarly, users can drag-and-drop apps in the Start menu to change the position. As a result, you can pin up to 18 apps in the Start menu.
5. Disable Windows Recommendations
With the transition to Windows 11, Windows Timeline is gone as well. Now, you have Recommendations on the Windows 11 Start menu. As of now, they only work with Microsoft apps and services. You won’t find it useful if you don’t want to try everything Microsoft recommends. You can disable Start menu recommendations from the Settings menu. Here’s how. Step 1: Open the Settings app on Windows 11. Step 2: Navigate to Personalization > Start and disable Show recently opened items in Start, Jump Lists, and File Explorer. We hope Microsoft opens Recommended API for third-party developers. Imagine a scenario when you can open a WhatsApp chat or Twitter home right from the Windows 11 Start menu. Productive, isn’t it?
6. Add Folders to Start Menu
Microsoft offers an option to add shortcuts such as File Explorer, Pictures, Downloads, etc. to the Start menu. That’s quite useful to directly open the frequently accessed folders right from the Start Menu. Go to Windows Settings > Personalization > Start and select Folders. Next, select the folders that you want to add to the Start menu. For example, we have added the Downloads and File Manager shortcuts to the Start menu. Open the Start menu and you will see newly added shortcuts beside the Power menu. You can now pin and open your frequently used folders with a single click.
Customize Start Menu in Windows 11
It’s good to see Microsoft’s approach with Windows 11. However, unlike Windows 10, you can personalize the new Start menu experience more. So make necessary adjustments and make yourself feel right at home with the new Start menu in Windows 11. The above article may contain affiliate links which help support Guiding Tech. However, it does not affect our editorial integrity. The content remains unbiased and authentic.


