While you can access all the files, folders, and directories on your Mac via Finder, you must have observed that each time you click on the Finder icon, a specific folder opens inside a new Finder window. This folder is persistent which means each time you open up a new Finder window, you will see the same folder. It’s time consuming if the default folder isn’t something you use frequently. You will then have to navigate to the desired folder manually which takes up extra time and a few extra steps. You can avoid all of that by changing the default opening folder in Finder. You can set the default folder in Finder to open a specific folder of your choice that will improve your workflow. Here’s how you can do it.
What Is the Default Folder in Finder
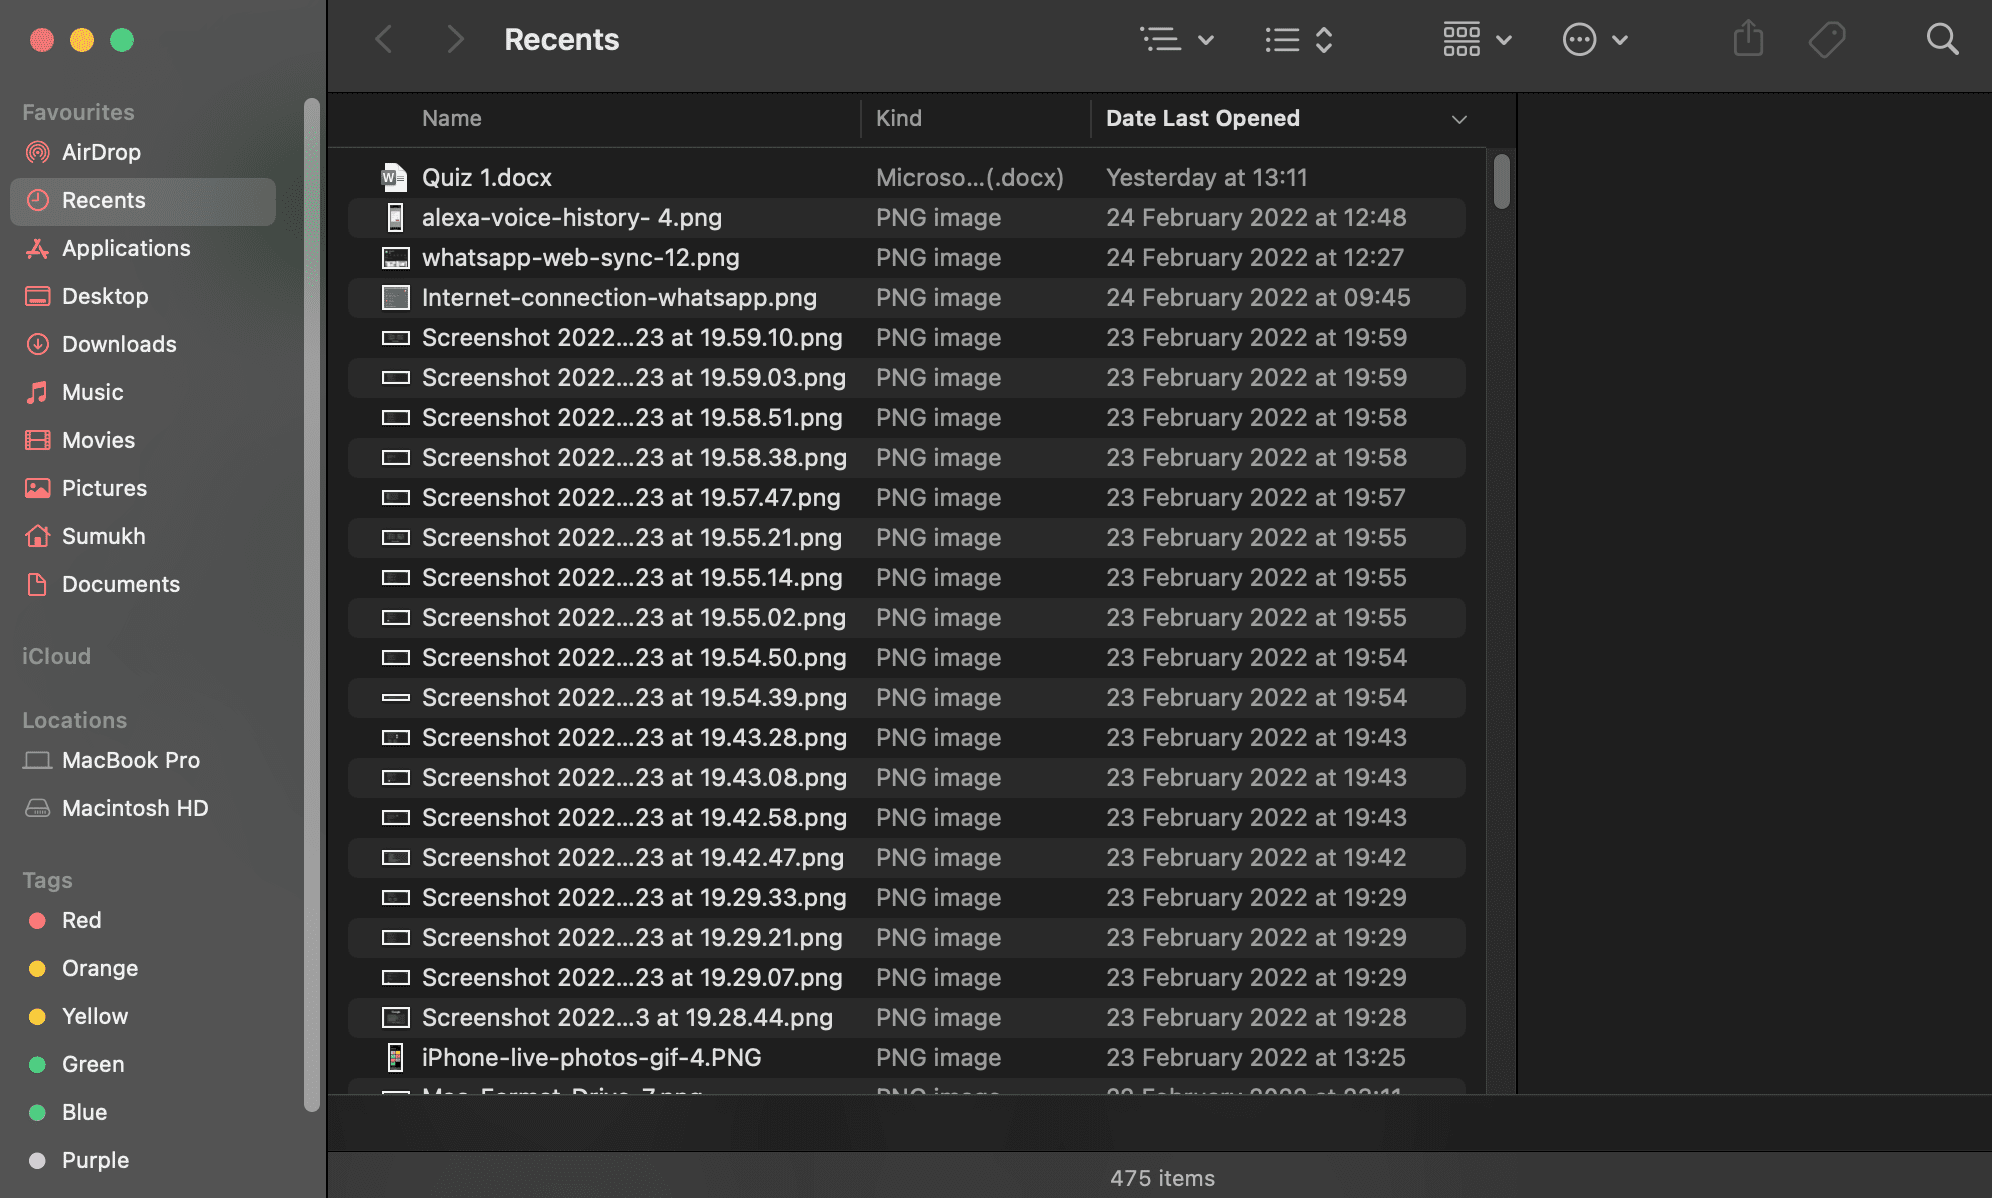
When you buy a new Mac, the default screen set in Finder shows your recent files. Some people may find this handy as you can quickly launch your recently accessed files from this screen. However, it’s not intuitive if you want to access an important folder each time you launch a new Finder window.
By changing the default opening folder, you can get quick access to a particular folder that you use most frequently on your Mac.
How to Change the Default Folder in Finder
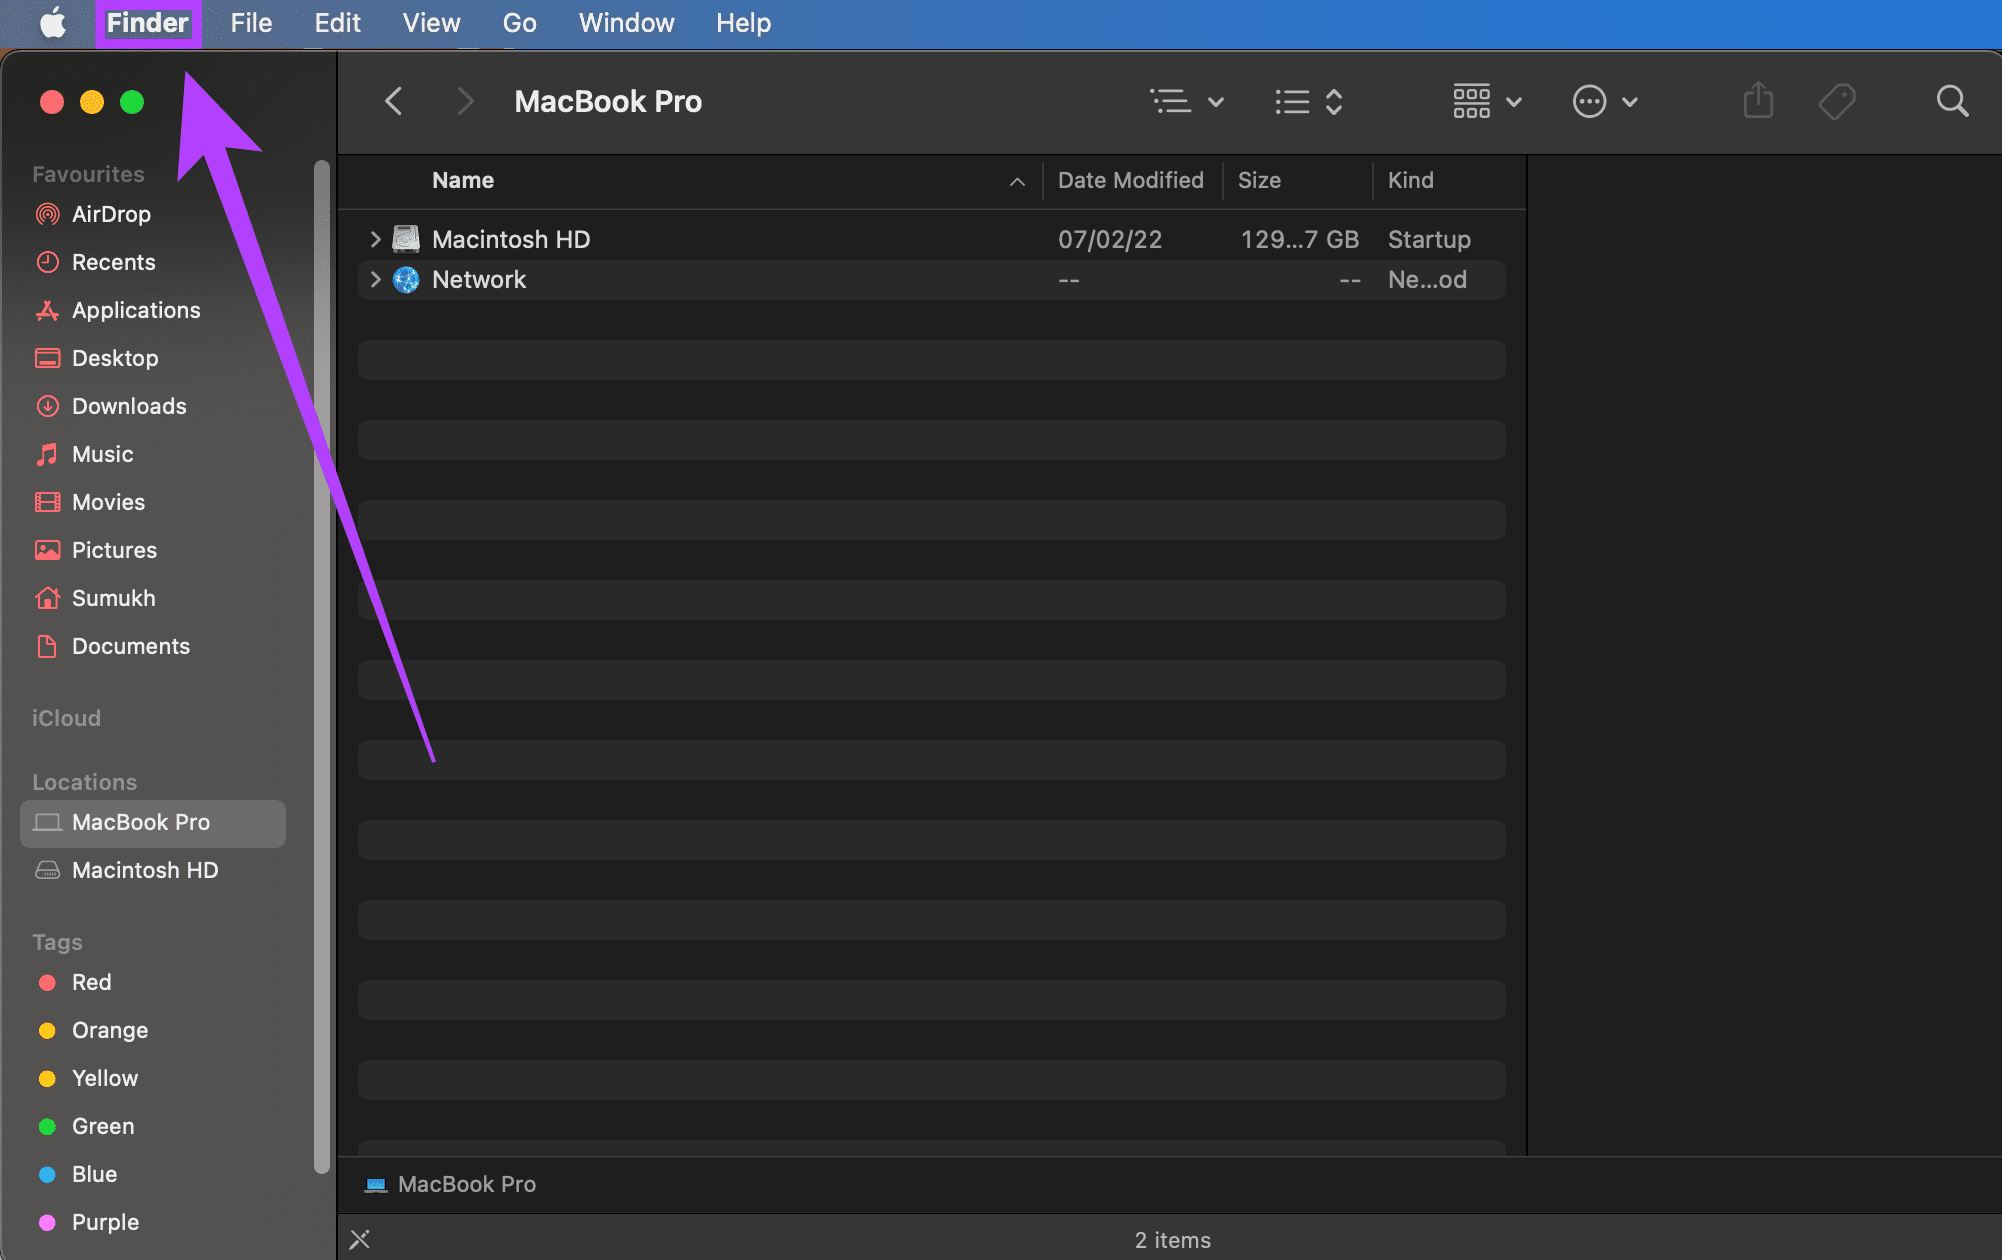
Changing the default opening folder in Finder is a straightforward process and only takes a few clicks. Here’s how you can do it on your Mac. Step 1: Open a new Finder window on your Mac.
Step 2: The menu bar at the top of your screen will now display ‘Finder’ next to the Apple logo. Click on it.
Step 3: Select ‘Preferences.’
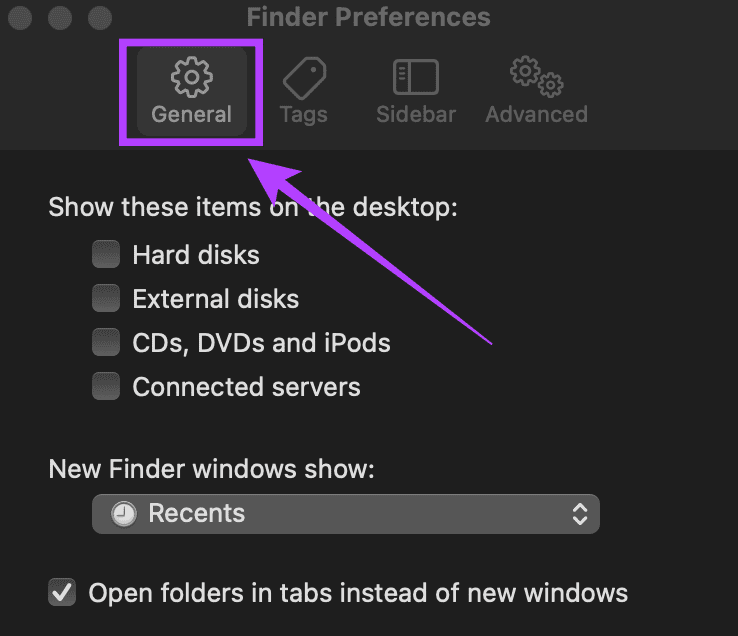
Step 4: Click on the ‘General’ tab if it hasn’t been selected already.
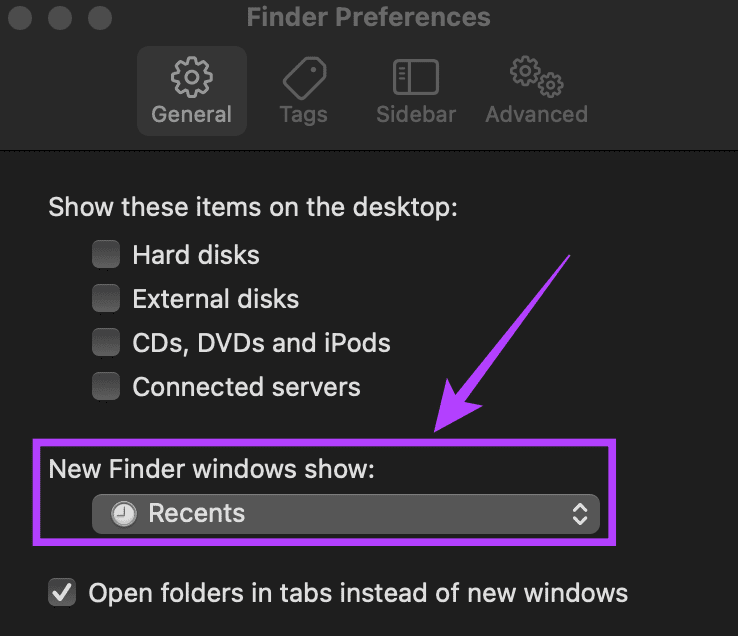
Step 5: Here, you will find an option called ‘New Finder windows show:’. Click on the drop-down menu below it.
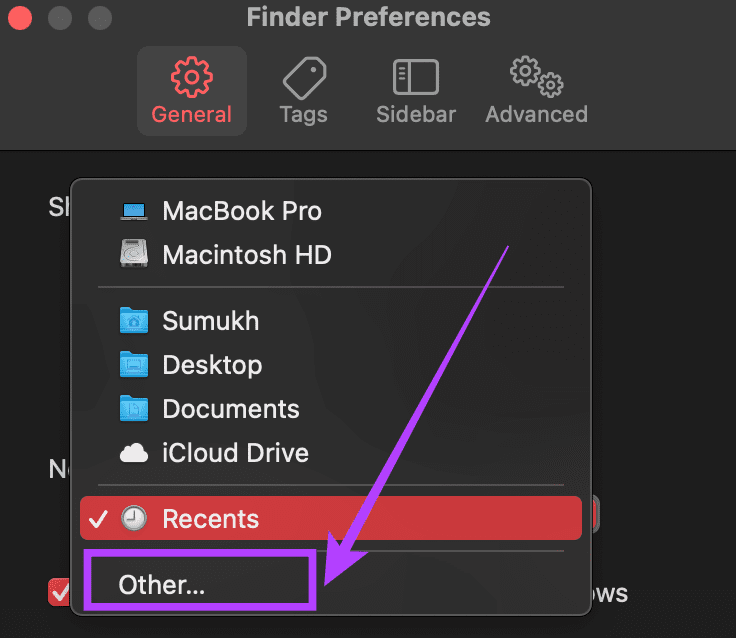
Step 6: If your desired folder that you want to set as default is displayed here, select it. If it’s not, click on the ‘Other…’ option.
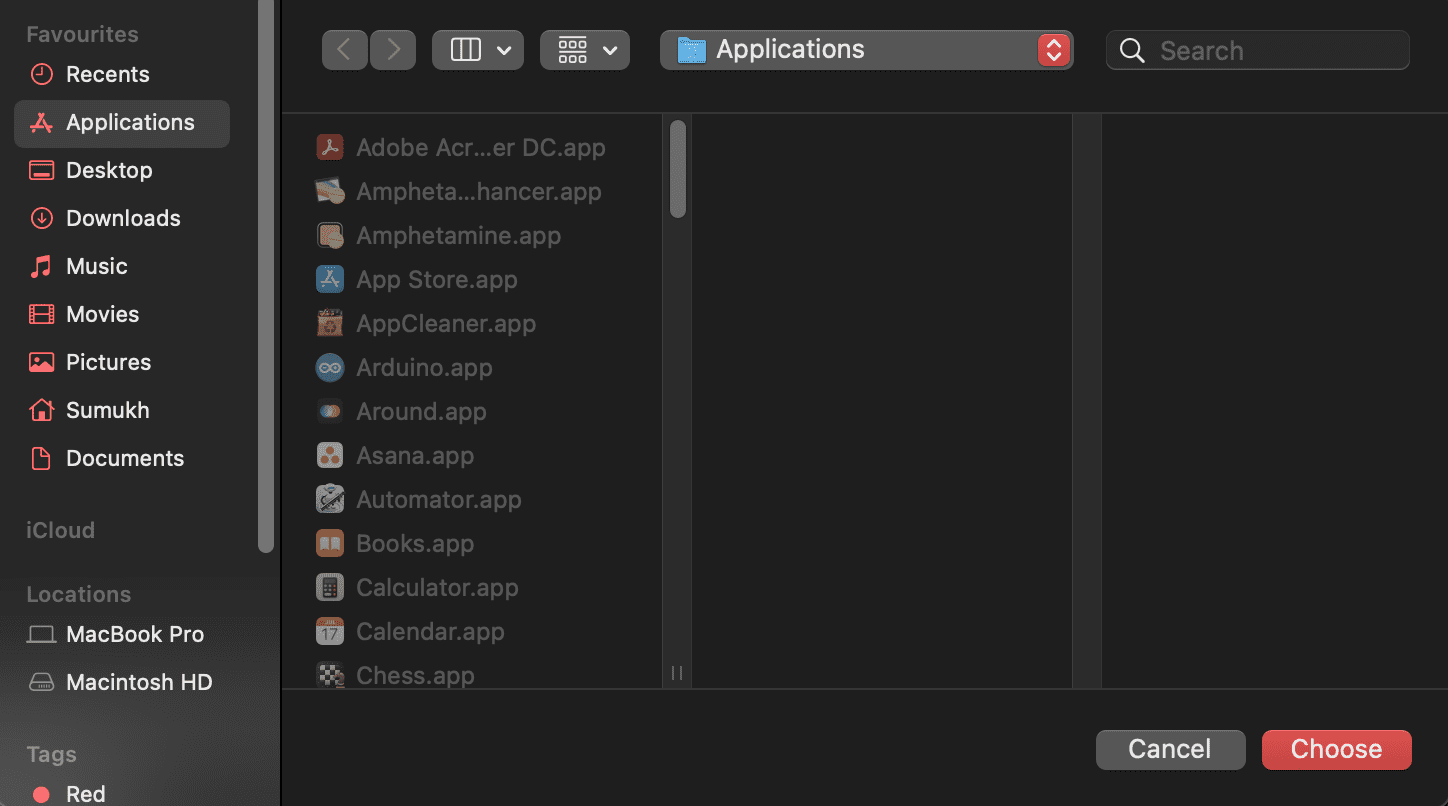
Step 7: You will now be asked to select the folder of your choice to set as the default opening folder.
Step 8: Navigate to the desired directory and click on ‘Choose’.
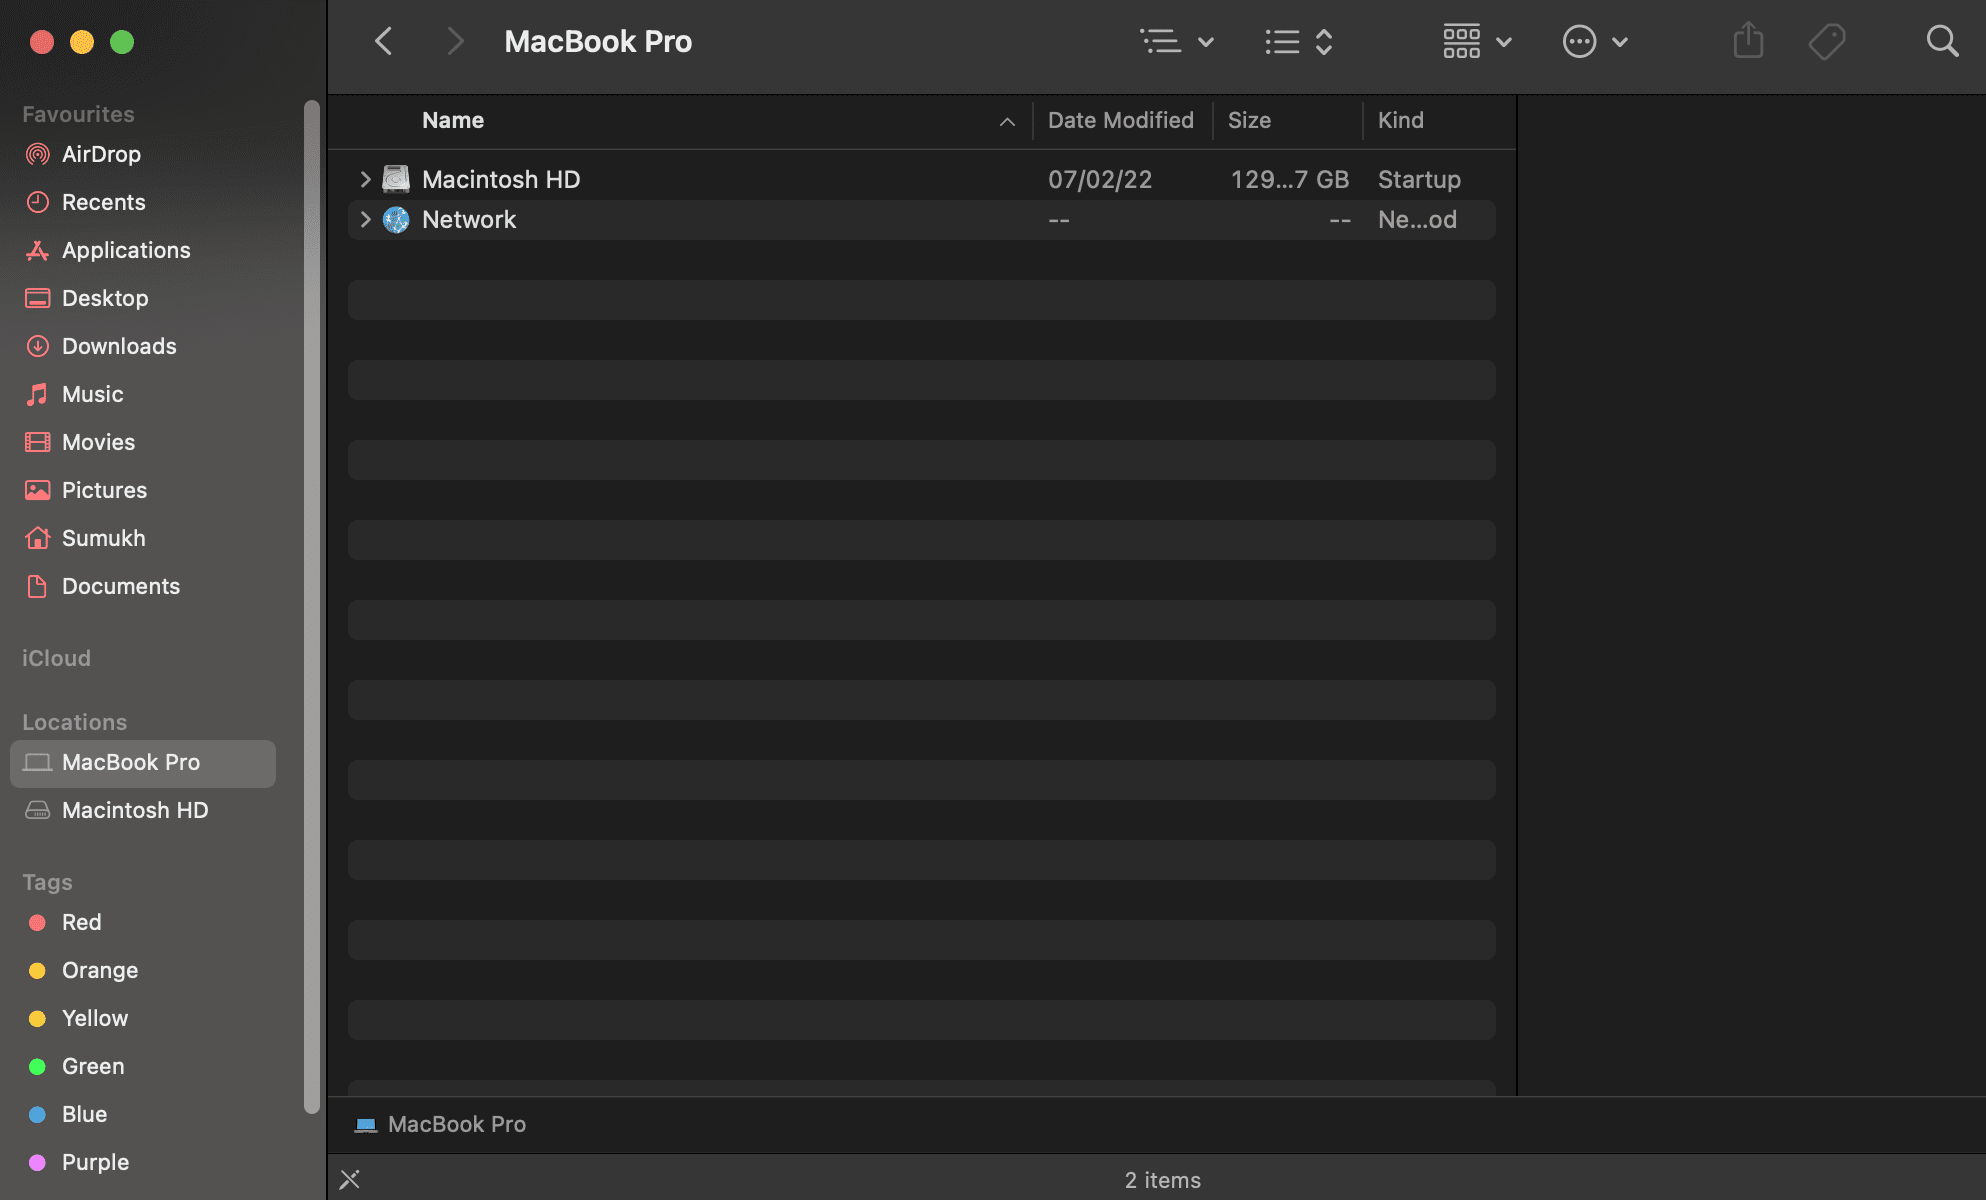
You have now successfully changed the default opening folder for Finder on your Mac. Try opening a new Finder window and you will see that it opens the folder or directory you selected.
Removing Disks and Networks From the Sidebar in Finder
If you want to change the default Finder folder, you’ve successfully done so by following the steps above. This one’s more of a bonus for the new macOS users who want to find their way around Finder. It can get rather intimidating to use Finder for the first time, especially with multiple disks and networks listed in the left column — more commonly referred to as the sidebar.
Here’s how you can get rid of those extra elements and make Finder simpler to use. Step 1: Open a new Finder window on your Mac.
Step 2: The menu bar at the top of your screen will now display ‘Finder’ next to the Apple logo. Click on it.
Step 3: Select ‘Preferences’.
Step 4: Click on the ‘Sidebar’ tab.
Step 5: You will now see a list of all folders, directories and devices displayed in the Sidebar. Deselect the ones you don’t want to see or use. For example, you can deselect ‘Cloud Storage’, ‘Connected servers’, ‘Hard disks’ etc.
You will now see only the elements that you selected in the Sidebar each time you open Finder. This makes it easier to find and navigate to the required folder. With more disks and network devices, you’re just adding unnecessary options that will add to the clutter. If you don’t use iCloud on your Mac, you can even disable that. Or else all your iCloud files synced from your phone will also show up on your Mac.
Open Finder to Your Desired Folder
Save yourself some extra clicks next time you launch Finder by following these simple steps. You can improve your workflow by opening a Finder window showing your desired folder and by selecting only the important directories you wish to view. The above article may contain affiliate links which help support Guiding Tech. However, it does not affect our editorial integrity. The content remains unbiased and authentic.


![]()