The virtual keyboard or, as it is officially known, the On-Screen Keyboard in Windows 11 can be a good replacement if you’re facing issues with your other keyboards. You can also use it to type without a physical keyboard and enter confidential information safely on your device. Let’s show you all the ways to access it.
1. Using Keyboard Shortcut
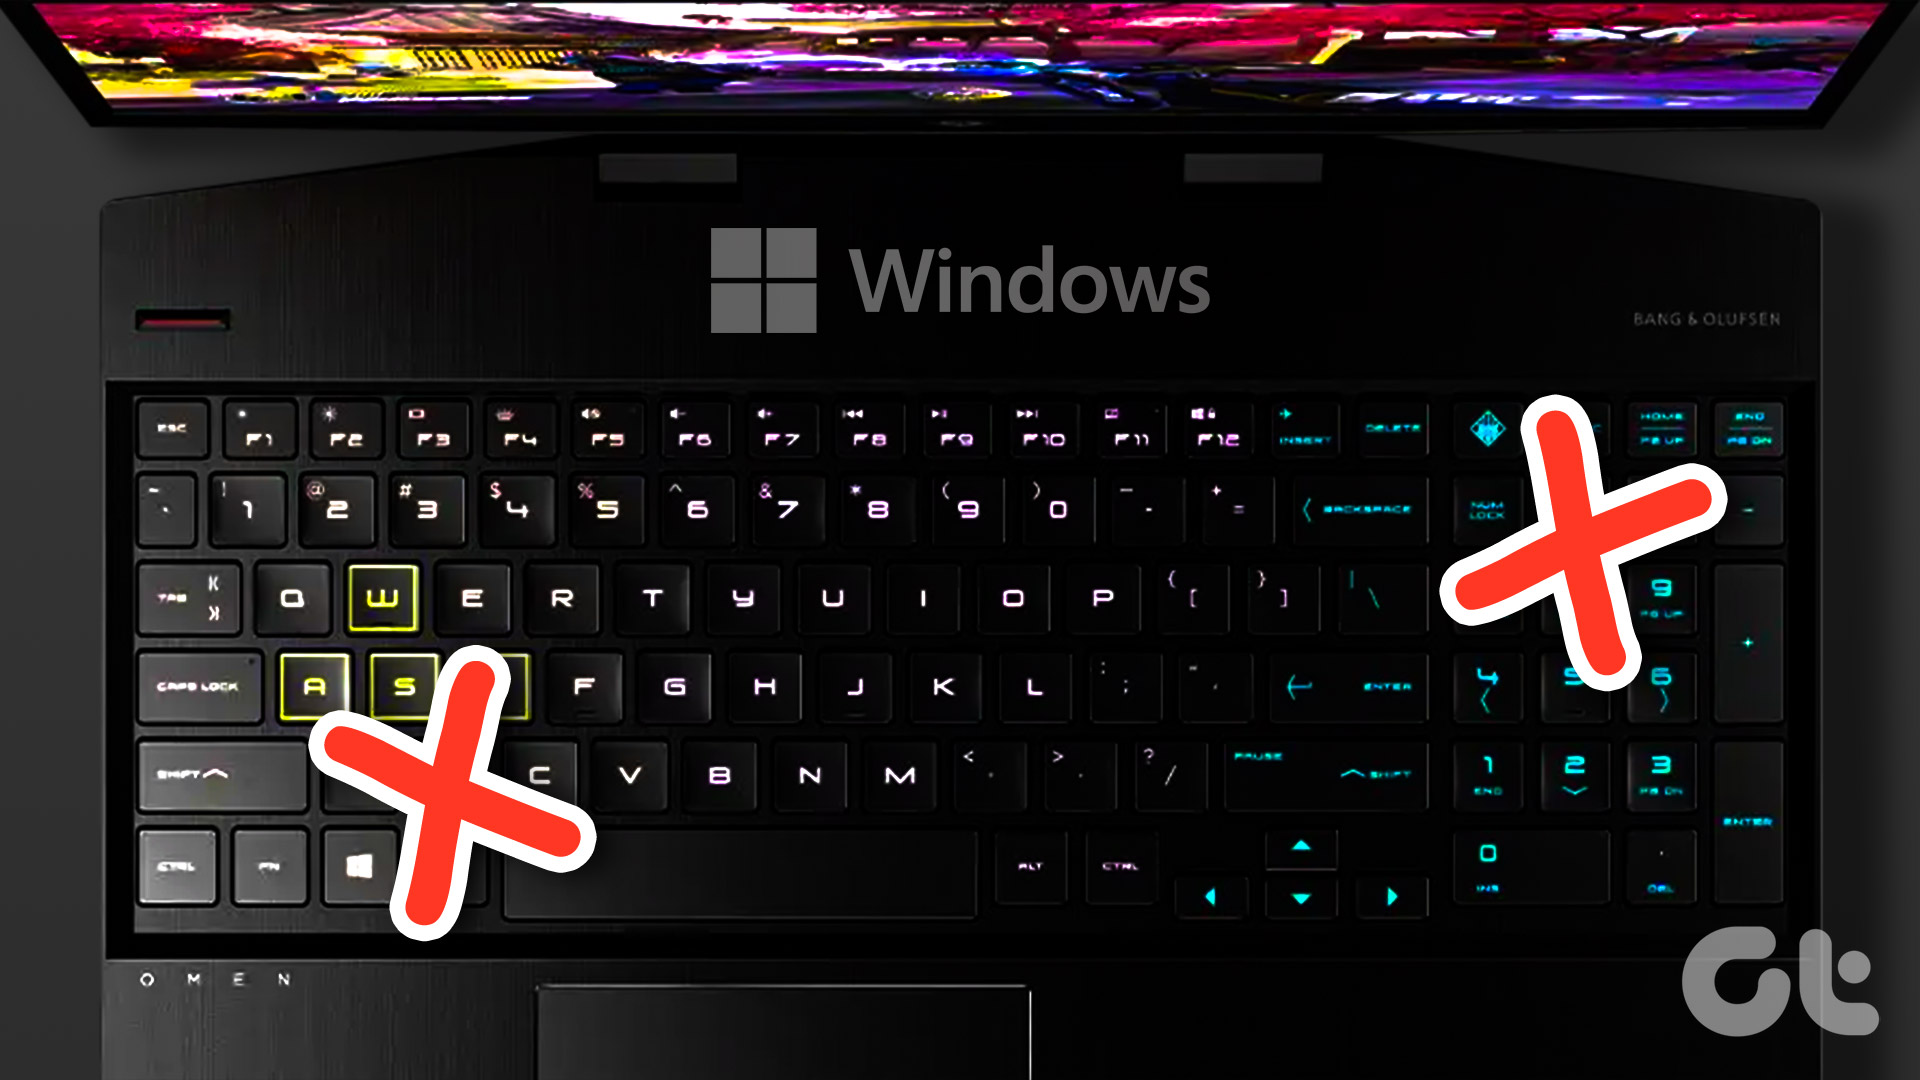
One of the easiest ways to open the On-Screen Keyboard in Windows 11 is by using the keyboard shortcut. Simply press the Windows + Ctrl + O keys and wait for the visual keyboard to open. In case you’re unable to use your keyboard, keep reading to know other ways to open the touch keyboard in Windows 11. Also Read: 2 ways to remap keyboard keys in Windows 11
2. Using Windows Search
Using the Search bar on Windows 11, you can look up pretty much every feature or function currently available. This also includes looking up and opening the On-Screen Keyboard. Here’s how to do it. Step 1: Go to the taskbar and click on the Search bar. Step 2: Here, either type ‘On-Screen Keyboard‘ or osk. Step 3: Then, click on the app from the search results. This will open the touch keyboard in Windows 11.
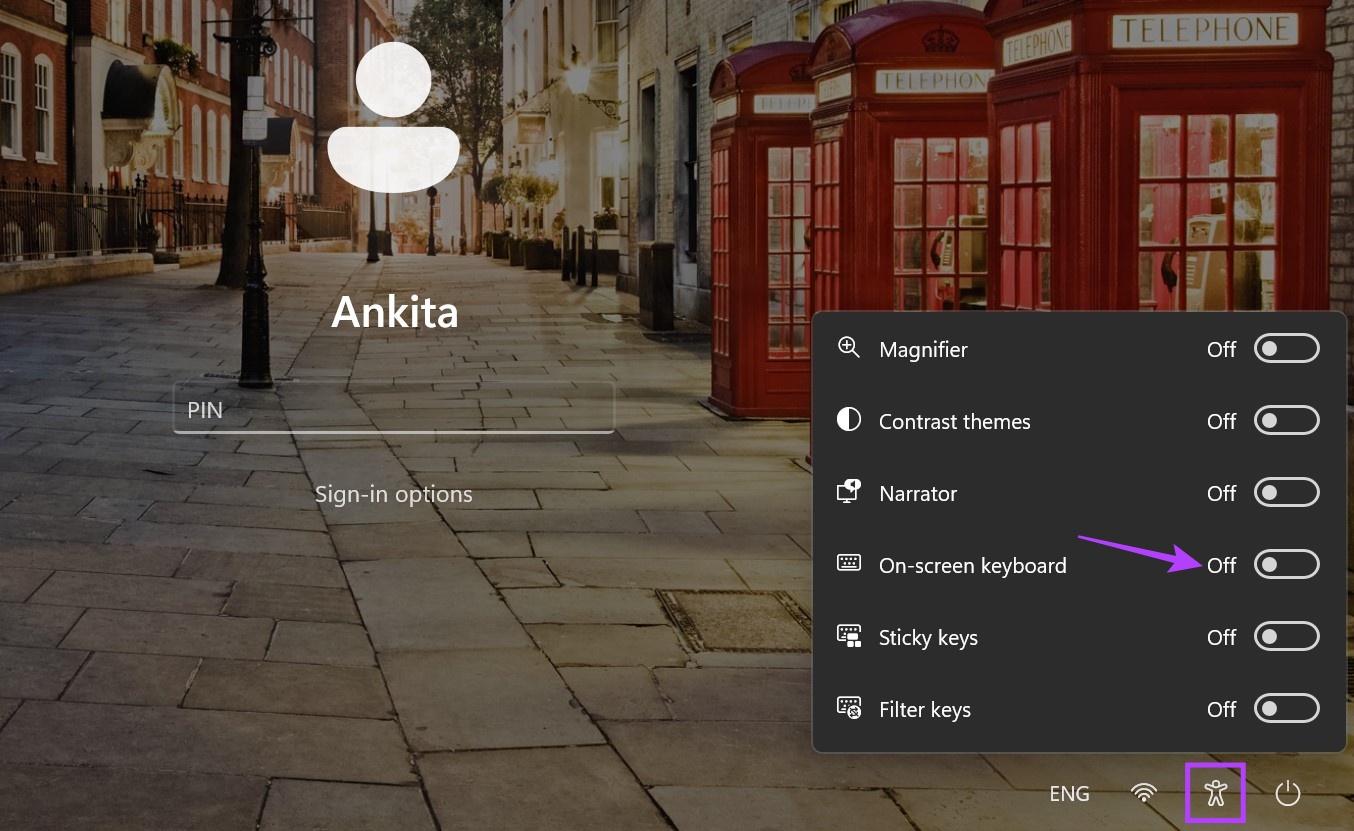
3. Using the Sign-in Screen
The Windows sign-in screen has more functions than logging you in. Apart from the sign-in options, you can also access power options and enable certain accessibility features. One of these is the On-Screen Keyboard. Follow the below steps to access the accessibility menu and open the virtual keyboard from the Windows sign-in screen. Step 1: Boot your device. Step 2: On the sign-in screen, click on the Accessibility icon. Step 3: Turn on the ‘On-screen keyboard’ toggle. Once the virtual keyboard appears, you can proceed to enter your PIN/password and sign in. The On-Screen Keyboard will be visible to you even after signing in.
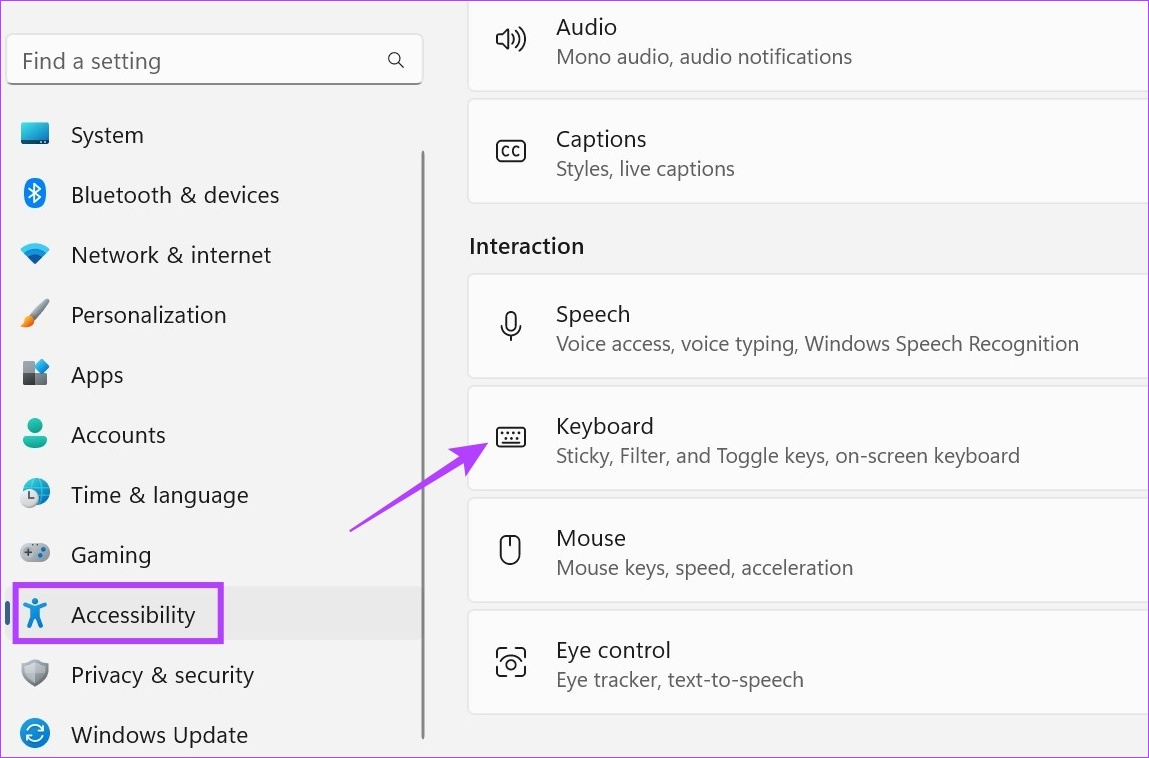
4. Using the Settings Menu
Just like any other Windows setting or feature, the On-Screen Keyboard also has a place in the Windows Settings menu. Using this, you can toggle on the virtual keyboard with ease. Here’s how: Step 1: Use the Windows + I keys to open Settings. Step 2: From the menu options, click on Accessibility. Step 3: Then, click on Keyboard. Step 4: Scroll down and turn on the toggle for ‘On-screen keyboard’. There might be a lag between turning on the toggle and the virtual keyboard opening on Windows. However, if after a few minutes, the keyboard still doesn’t appear, turn the toggle off and back on and check again.
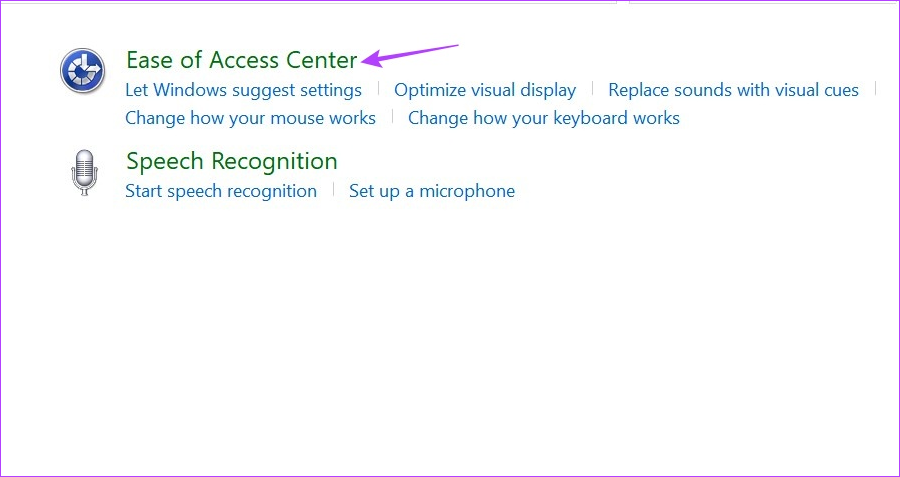
5. Using Ease of Access Center
Using the Ease of Access Center in the Control Panel, you can adjust and access settings relevant to the visual, auditory, and mobility configuration of your device. This also means that for your ease of typing, you can open the On-screen keyboard using the Control Panel options. Here’s how. Step 1: Go to Search and type Control Panel. Then, open the app from the search results. Step 2: Here, click on ‘Ease of Access’. Step 3: Then, click on ‘Ease of Access Center’. Step 4: Go to the ‘Quick access to common tools’ section and click on ‘Start On-Screen Keyboard’. Now, use this virtual keyboard and type without a physical keyboard on Windows 11.
6. Using the Run Command
The Run window lets you quickly run or open a program, as long as the correct command is entered in the command line. This means you can also use it to open the touch keyboard in Windows 11. Follow the below steps to do it. Note: You can use this command with Command Prompt as well to open the On-Screen Keyboard in Windows 11. Step 1: Use the Windows + R key to open the Run window. Step 2: Here, type osk and either press enter or click on OK. Once the command is executed successfully, the On-Screen Keyboard will open on your Windows 11 device.
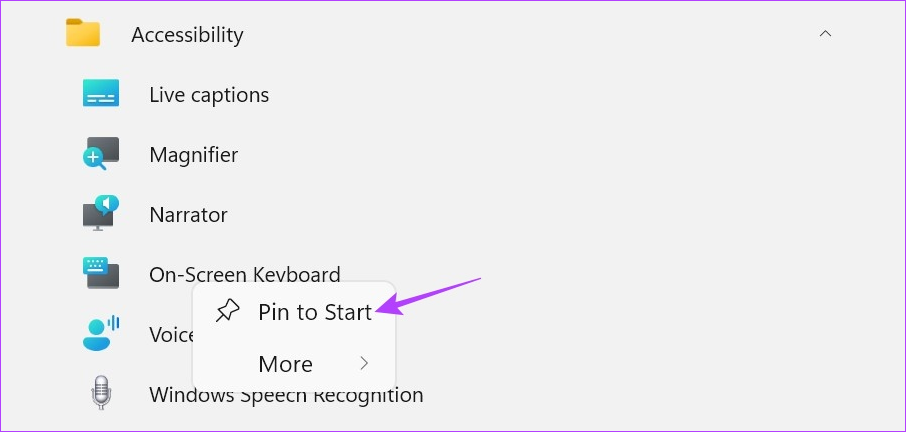
Bonus: Pin On-Screen Keyboard to Start
If you constantly use the On-Screen Keyboard, you can pin the keyboard shortcut to the Start menu. This will add the app in between all your other pinned apps, making it easier to access. Follow the below steps to do it. Step 1: Click on Start. Step 2: Here, click on All apps. Step 3: Then, click on Accessibility. Step 4: Once the list of apps opens, right-click on ‘On-Screen Keyboard’. Step 5: Click on ‘Pin to Start’. Now, you will be able to instantly access the visual keyboard from the Pinned apps menu.
Type Worry-Free
So there were all the ways you can use to enable the On-Screen Keyboard in Windows 11. On the off chance that you’ve been facing issues using the On-Screen Keyboard, check our other to fix On-Screen Keyboard not working on Windows. The above article may contain affiliate links which help support Guiding Tech. However, it does not affect our editorial integrity. The content remains unbiased and authentic.